Install drupal on a cloud server
In this article:
Learn to install drupal on a real cloud server
Setup a free trial cloud server
Install the Lamp stack
Install drupal
Start Developing
As a drupal developer there is nothing more fun than owning your own webserver to play with. In this post will learn how to get a free cloud server, confiugre a lamp stack on it and install drupal on that cloud server.
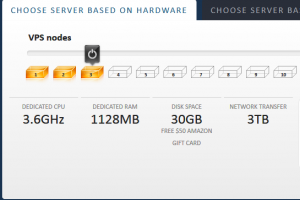
On the market there are numerous ways to get a free server one of them is at VPS.net
As you can see there is a plan where you need to pay for. Which is ok if you want to start to host websites for your clients or you if want to keep the server longer than one month. You can pay for a month which starts at 20$. Using the server for a month is ideal if you want to build a proof of concept of something and it doesnt have to live longer than a month.
If you are serious about hosting servers and drupal sites for your clients you can then not only charge them for drupal development but also for configuring and maintaining their server and maintaining their drupal installation. Typicaly hosting firms charge up to 2000€ a year for configuring and managing a cloud server depending on the SLA.
But first you want to try out your skills and start learning how to configure these cloud servers before your start charging clients for it.
Configuring a cloud server for drupal is not that hard. The first you need of course is get a cloud server to configure your stack so drupal can run on top of it.
Getting a trial cloud server
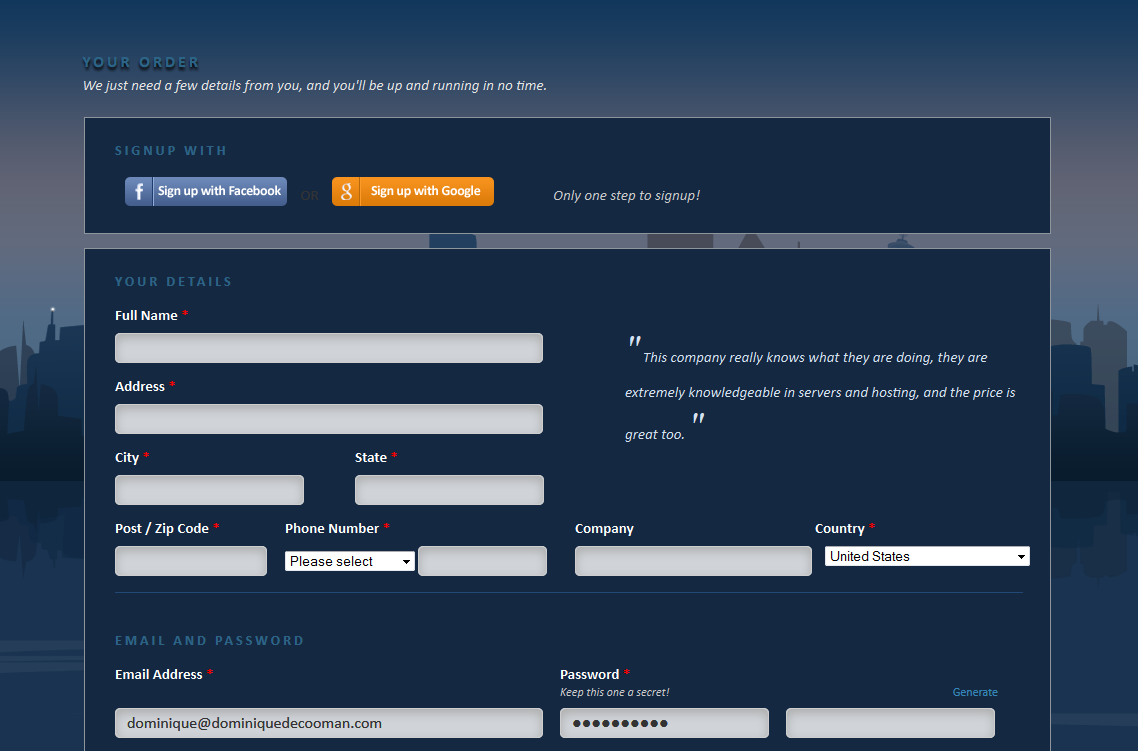
Go to trial to sign up for the trial version. Here you can register for a vps without needing credit cards.
When you are in the second popup you should see this screen. It should not ask you for credit card information. When you are signing up in the first popup which this is the paying option, you can click through on the signup now button and select your nodes and timeframe. Here you need a credit card. If you are serious about owning your own server you can get a paying account immediatly.
After registering you will come to this screen. This is the main administration screen to manage your server. Now click on the upgrade button.

Here you can buy nodes. Since we are in trial mode we can buy one node. It says 13$ but it wont be charged anyway because you didnt submit your credit card. It all gets handled in trial mode. Now click the buy nodes and you ll be able use that node.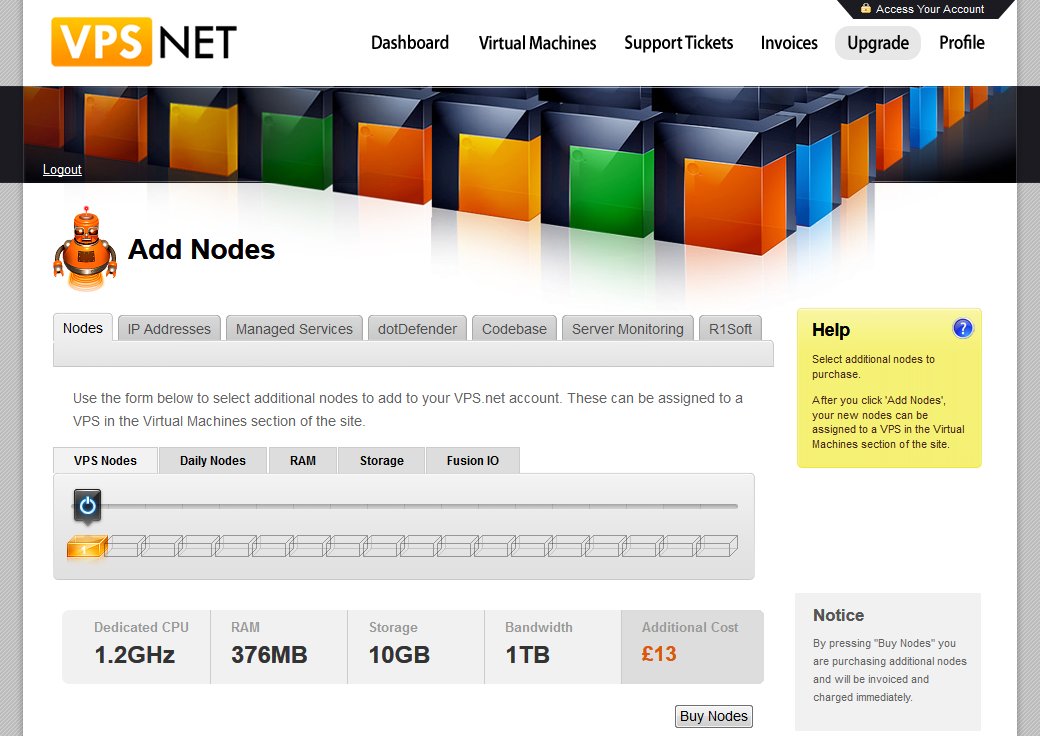
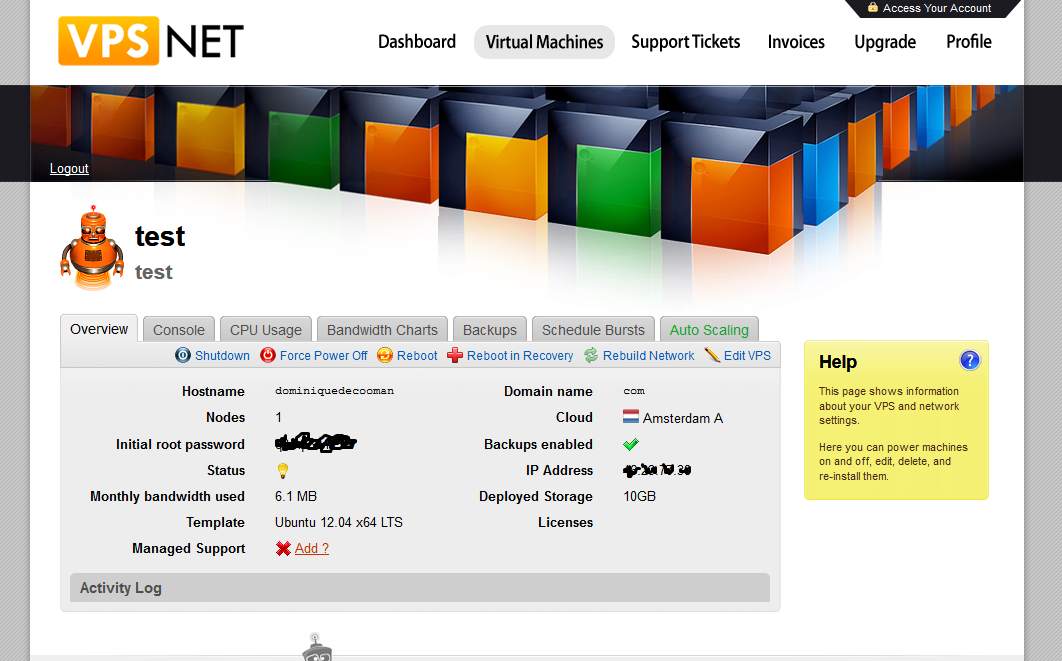
Once you've passed the previous screen where you got your server node. You should see this.

What we want to do now is go back to the intro screen screen and click create new vps. Now you will be able to give it your trial node. Now we can
Configuring a LAMP stack
Now first you need to log in via ssh using a terminal with the user name and the ip adress:
To use ssh you need a client. If you are on linux or macos just launch the terminal. If you are on windows you need a tool called putty.
On the command line type: ssh root@xxx.xxx.xxx.xxx
Now you will be logged in on your free trial cloud server ready to install drupal.
How to install drupal on a real cloud server
To install drupal on a real cloud server is not that different from installing drupal locally. First we need to configure the server. We need to install our lamp stack so we can install drupal. Our lamp stack consists out of 4 components:
- Our linux operating system, which is already installed on our free cloud server trial.
- Apache webserver which will listen for incoming requests on the webserver and route this to our drupal installation
- The myslq database which will store all the data drupal needs in the form of tables and rows.
- Php programming language which will run our drupal source code
Some people will call the LAMP stack with drupal a DAMP stack, where the D stands for drupal.
Now we are going to install and configure each piece of our stack.
Apache webserver
You are now logged in on the server. On the command line type:
apt-get install apache2 wget curl
This will install apache and wget and curl which are tools to call external resources. They are not absolutely necessairy but they will come in handy later.
Now the installation should just continue and the webserver should be started.
Verify this by surfing with the browser to your ip address. It should say: "It Works!"
Now some additional configuration is needed. We will enable the expire module, the deflate module for performance and the rewrite module to benefit from clean urls. We restart the webserver to make changes effectif.
a2enmod expires
a2enmod deflate
a2enmod rewrite
sed -i 's/DEFLATE text\/html text\/plain text\/xml/DEFLATE text\/html text\/plain text\/xml text\/css text\/javascript application\/x-javascript/' /etc/apache2/mods-available/deflate.conf
apache2ctl restart
Php programming language
This can be configured in multiple ways but we will use the default where php works as a
apt-get install php5 php-pear php5-dev php5-gd
This will install php, php pear and the gd library which we need for our images.
Mysql database
apt-get install mysql-server-5.0 php5-mysql mysql-client
This will install mysql and configure mysql to use php.
Install drush
Use drush it will make your life so much easier.
Check http://drupal.org.drush for more. Here is how to install it
install pear
apt-get install php-pear
pear upgrade
pear channel-discover pear.drush.org
pear install drush/drush
Downloading and installing drupal
Go to /var/www folder and download drupal:
cd /var/www
drush dl
Change the name of the folder to the name of your project
mv /var/www/drupal-7.x /var/www/project
Create a vhost file for apache so the webserver can route incoming requests to our folder.
apt-get install nano
nano /etc/apache2/sites-available/project.dev<VirtualHost *:80> ServerName project.dev ServerAlias *.project.dev DocumentRoot /var/www/project.dev <Directory /var/www/project.dev> Options Indexes FollowSymLinks MultiViews AllowOverride All Order allow,deny allow from all </Directory></VirtualHost>#enable sitea2ensite ddc.devapache2ctl restart
Edit your hosts file on your local machine and enter:
ip.xx.xx.xx project.dev
Now test if when you type project.dev in your browser url bar you get to see the drupal install screen.
Installing drupal
Installing drupal is very easy. You need to configure the database and the file system and follow the instructions.
First we need to configure our settings file so our drupal installation can connect to the database.
Go to /var/www/project/sites/deafult and copy the default.settings.php to settings.php and give permission to write in the file.
cp sites/default/default.settings.php sites/default/settings.php
chmod a+w sites/default/settings.php
After the installation set the permissions back to:
chmod 640 settings.php
Create a files folder
Create a files folder and make it writable
mkdir sites/default/files
chmod o+w sites/default/files
Create a database
Create the databse with this command:
mysqladmin -u username -p create databasename
Set the user password
mysql -u username -p
Set grants:
GRANT SELECT, INSERT, UPDATE, DELETE, CREATE, DROP, INDEX, ALTER, LOCK TABLES, CREATE TEMPORARY TABLES ON `databasename`.* TO 'username'@'localhost' IDENTIFIED BY 'password';
Run the installation script
Go to http://project.dev/install.php and follow all the instructions.
You should select the default profile. Fill in your credentials. Set the correct database username and password provided earlier and you should end up with a fresh drupal installation.
You are now done configuring and installing drupal. Now enjoy your drupal installation on real cloud server. Happy drupal development.
More
Learn how to install drupal automated
Advanced settings in the lamp stack coming soon:
- tools
- setup ssh keys
- configure linux users
- php memory limit, mas file size, errors, post max size, upload progress, ...
- mysql mas packet size, query limit, optimalisations, ...
- phpmyadmin for easy database administration
- repository setup
- drush alias file setup
- backups
- jenkins
- apache solr
- mails
- performance: apc, varnish, memcached
- security: iptables
- dns
- cron
Try some more on your server
Now here are some blog posts to try out on this vps. Have fun:
- http://dominiquedecooman.com/blog/drupal-7-tip-how-automate-and-control-your-go-live-checklist
- http://dominiquedecooman.com/blog/drupal-7-local-apache-solr-geospatial-search-radius
- http://dominiquedecooman.com/blog/install-memcache-drupal-centos
- http://dominiquedecooman.com/blog/drupalcamp-pakistan-automating-drupal-deployment
- http://dominiquedecooman.com/blog/how-add-cron-job-drupal-linux-server
- http://dominiquedecooman.com/blog/drupal-enterprise-quality-experience
Add new comment